Why Cat Drawing Feels So Magical
There is something quietly satisfying about putting pencil to paper and watching a simple sketch turn into a living, breathing image. And when it comes to subjects that inspire both beginners and experienced artists, cat drawing sits right at the top of the list. Cats are expressive, elegant, playful, and sometimes mysterious, which makes them a perfect subject for practice and creativity.
If you’ve ever tried cat drawing, you probably already know it can be both fun and slightly challenging. The curves of the body, the delicate whiskers, and those sharp yet soft eyes all require a bit of patience. But the good news is this: anyone can learn cat drawing with the right approach and a little consistency.
In this guide, we’ll walk through everything you need to know about cat drawing, from basic tools to step-by-step techniques, common mistakes, and improvement tips. Whether you’re sketching for fun or building your art skills, this will help you feel more confident with every line you draw.
Why Cat Drawing Is So Popular Among Beginners and Artists
Cat drawing has remained popular for decades, and there are a few good reasons behind it. First, cats are familiar. Most people see them daily, which makes observation easier. Second, their body structure is flexible and expressive, allowing artists to experiment with poses.
Another reason cat drawing is loved is because it can be simple or detailed depending on your skill level. You can create a quick cartoon cat or a highly realistic portrait. This flexibility makes it ideal for practice.
Many beginners also find that cat drawing improves their understanding of proportions, anatomy, and shading faster than other subjects.
Essential Tools You Need for Cat Drawing
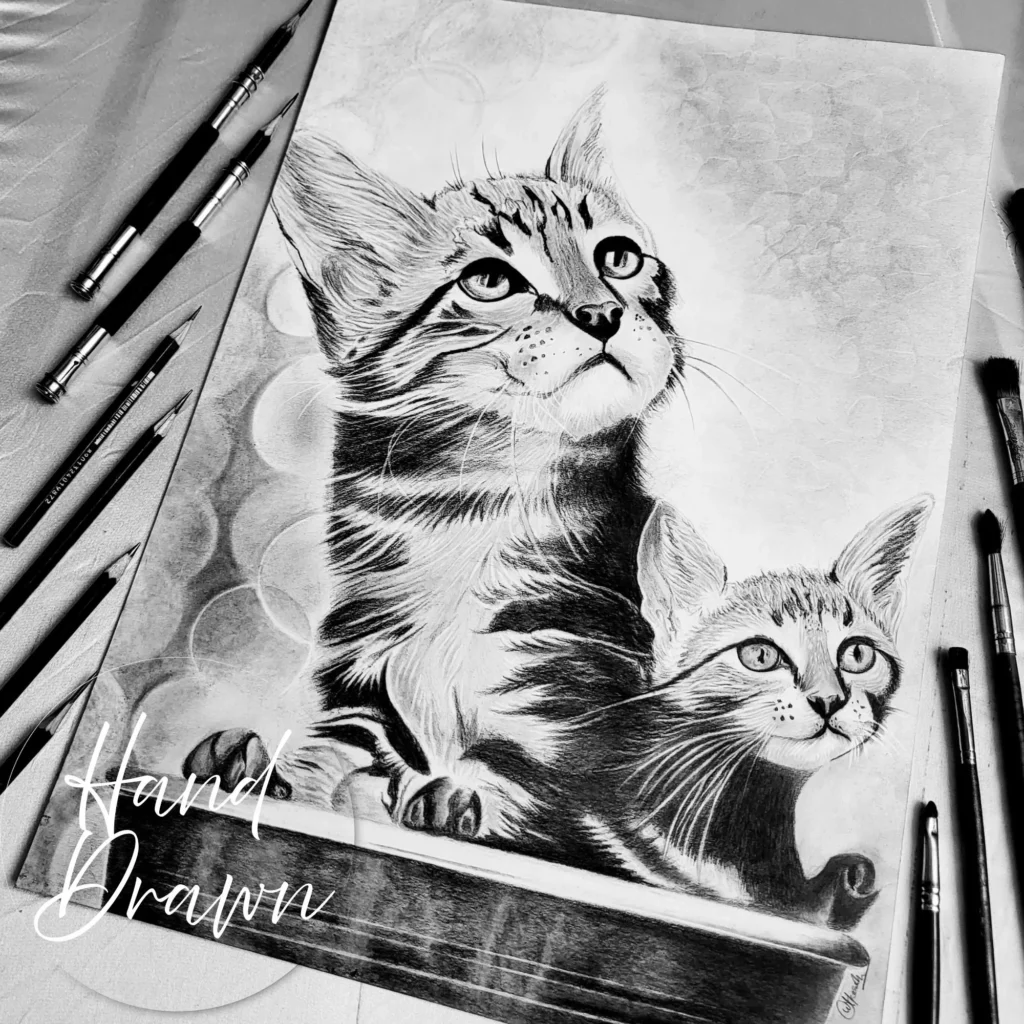
Before you begin your cat drawing journey, it helps to gather the right tools. You don’t need anything expensive to start, but having basic materials can make a big difference.
Basic Drawing Tools
- Graphite pencils (HB, 2B, 4B, 6B)
- Sketchbook or drawing paper
- Eraser (preferably kneaded eraser)
- Sharpener
- Blending stump or cotton swab
Optional but Helpful Tools
- Charcoal pencils for bold shading
- Fine liners for ink detailing
- Colored pencils for creative cat drawing styles
- Digital tablet (for digital cat drawing practice)
Each tool adds a different texture and feel to your cat drawing process, so experimenting is always a good idea.
Step-by-Step Cat Drawing Guide for Beginners
Now let’s get into the part you’ve been waiting for: the actual process of cat drawing. We’ll break it down into simple steps so you can follow along easily.
Step 1: Start with Basic Shapes
Every cat drawing begins with simple shapes. Think circles, ovals, and triangles. These shapes help you build the structure before adding details.
- Draw a circle for the head
- Add an oval for the body
- Sketch smaller circles for joints and paws
At this stage, your cat drawing doesn’t need to look perfect. It’s just a foundation.
Step 2: Outline the Body Structure
Once the shapes are in place, connect them with light lines. This forms the basic body posture. Whether your cat is sitting, walking, or stretching, this step helps define movement.
A good cat drawing always starts with correct proportions, so take your time here.
Step 3: Add Facial Features
The face is the most expressive part of any cat drawing. Focus on:
- Almond-shaped eyes
- Small triangular nose
- Gentle curve for the mouth
- Placement of ears on top of the head
Keep the features balanced to avoid distortion in your cat drawing.
Step 4: Define Legs and Tail
Now refine the limbs and tail. Cats have flexible bodies, so don’t make lines too stiff. A natural flow improves the quality of your cat drawing.
Step 5: Add Fur and Texture
Fur is where your cat drawing starts to feel alive. Use short, light strokes to create softness. Avoid drawing every single hair; instead, suggest texture.
Step 6: Shading and Depth
Shading brings dimension to your cat drawing. Identify your light source and add shadows accordingly. Darker areas under the body, around the legs, and behind the ears can make your drawing more realistic.
Common Mistakes in Cat Drawing and How to Avoid Them
Even experienced artists make mistakes in cat drawing. Here are some common ones:
- Making the head too large or too small
- Ignoring body proportions
- Over-detailing fur too early
- Using harsh outlines instead of soft transitions
- Forgetting light and shadow balance
The key is to observe real cats and practice regularly.
Tips to Improve Your Cat Drawing Skills Faster
Improving cat drawing takes practice, but smart practice speeds things up.
- Draw from real-life references whenever possible
- Practice gesture drawing for movement understanding
- Use a grid method for better proportions
- Study cat anatomy basics
- Keep a sketchbook dedicated to cat drawing
- Try different poses daily
- Don’t erase too quickly; learn from mistakes
Consistency matters more than perfection in cat drawing.
Different Styles of Cat Drawing You Can Explore
One of the best things about cat drawing is the variety of styles you can explore.
Cartoon Cat Drawing
Simple shapes, exaggerated expressions, and playful proportions.
Realistic Cat Drawing
Focuses on anatomy, fur texture, and accurate shading.
Anime Cat Drawing
Big expressive eyes and stylized features.
Minimalist Line Cat Drawing
Clean outlines with minimal detail.
Digital Cat Drawing
Created using software like Procreate or Photoshop for modern illustration styles.
Each style gives your cat drawing a different personality.
Conclusion: Keep Practicing Your Cat Drawing Journey
Mastering cat drawing is not about being perfect from the beginning. It’s about learning step by step, enjoying the process, and allowing yourself to improve gradually. Every sketch you make teaches you something new about shapes, proportions, and expression.